Folding Extension Table & Modifications |

| ||||||
|
For about eight years, I did all of my woodworking with a Sears Craftsman direct drive 10" tablesaw. It was woe-fully underpowered, the fence would not lock down correctly or stay square, the tabletop was tiny, and the thing was god-awful loud.
On the other hand, I lived in a series of small apartments up and down the east coast and did all my woodworking on small balconies, so it met all of my needs quite nicely.
After I graduated college, I decided to upgrade my table saw, as I had reached its limitations. About the same time that I was looking to upgrade, Home Depot was clearing out the Delta 36-675 10" Contractors saw. It had a huge (comparitively) table, a fence that actually locked square, and it almost seemed to run in silence. I was sold. I purchased my first home not too long ago, and finally had a garage to work in. No more stopping when it rained, or moving equipment in and out of the house. I had been using the Delta for about a year, and loved it, but it did have a few limitations of it's own. I really wanted the ability to break down sheet goods, for which I figured I needed at least 36" of rip capacity. The fence rails only gave me 28" in their stock configuration. I also wanted a support table for the wing, and some outfeed support. Thanks to the suggestions and experiences of other Woodnetters, I had several tips and examples from which to follow. I decided to add a folding outfeed table as several other Woodnetters had done to their 36-675s.
|
 Old Skilsaw 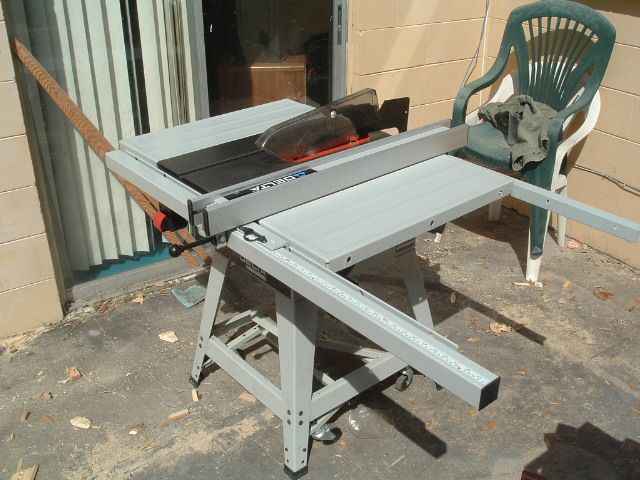 Delta 36-675 | ||||||
|
Moving the Rails To get the rip capacity I wanted, I decided to move the mounting brackets for the rails 10" to the right. I unbolted the rails, mounting brackets, and right-hand stamped table wing. I moved the brackets one hole over to the right. This resulted in my having to drill a hole in each bracket so that I could bolt it to the right side of the cast iron table. I used my Harbor Freight drill press, a 15/64 ths bit and an 82 degree countersink to prepare the hole. I went to Loews and purchased a couple of Pan Head screws so that the recessed heads would interfere with the fence. Making the Table Framework For the next stage of the project, I needed to make the wing and outfeed support framework. There are many ways this could have been done, and most are probably easier and cheaper, although my method was by no means difficult. I purchased several four foot lengths of angle iron from Home Depot. The aluminum angle iron was lighter, cheaper, and prettier, but I chose the steel, because it seemed sturdier and I don't know a lot about metallurgy. I also purchased a chopsaw blade, some cutting oil, and a can of black primer. The extension table brackets were easy to fabricate. I clamped them to the mounting brackets, marked off the holes, and drilled them out on the drill press. I used cutting oil because I didn't want to burn out my drill bit, as I had a lot of holes to drill. I set the press on a fairly low speed, and made short work of the extension table brackets. Next, I put the chopsaw blade on my compound mitre and started cutting the angle iron to length. This is the point where I caused a FIRE because I forgot to take the dust collection bag off. Cutting angle iron generates a lot of sparks and heat. In addition to burning holes in my dust collection bag, the heat and sparks pitted the plastic throat plate of the compound mitre. Clearly, this was a bad idea. With the fire put out, I chopped up the remaining rail, and also made several brackets for later use. Making the Outfeed Framework On the right side of the saw, the outfeed rails were easy to mount. I clamped them to the extension table rails, marked the holes, and then took the pieces to the drill press. For the left side, I needed something to mount the rails to. This is where I used the two bracket pieces I had cut from the angle iron previously. I mounted them to the bolts for the left side stamped extension. At this point, I discovered I had gotten very lucky in my placement of the rail segments. Through no measurement of my own, the motor on the Delta happened to clear the outfeed framework in the 45 degree position with no modification necessary. At this point, I had all the framework mounted, and was ready to build the tables. Assembling the Tables I purchased a single sheet of 3/4" laminate particle board at Home Depot, and some Kreg screws and furing strips at Loews. I cut the sheet and framed the pieces with the strips. Everything was attached by pocket screws and glue. I used some t-nuts and 1/4" bolts to level the tables on the framework, and drilled the strips to clear the bolts holding the framework to the fence brackets. Next came the very tedious process of levelling the outfeed table and extension table. I marked the path of the blade guard bracket on the outfeed table as well. Once I knew everything was more or less where I wanted it, I tore it down, painted the frame rails, and cut the notch for the blade guard bracket. I reassembled the framework and relevelled the tables. Next, I routed the mitre slots in the outfeed table with a 3/4 rabbet bit. To make sure I aligned the mitre slots, I used a level clamped to the fence for a guide. I routed the slots slightly larger then 3/4" to insure that I would have clearance for any type of mitre guage. Folding Outfeed Table I used the remainder of the particle board and pine strips to make an outfeed table extension. I used a piano hinge to make the extension fold. For legs, I ripped a 2X4 in half, and placed chair leg levellers on the bottoms of the legs. I used some spare barrel hinges to mount the legs to the extension table. With the added length and weight of the table wing and outfeed table to the right of the saw, it had become unstable, so I also mounted a leg on the right wing. This resulted in a large and stable work surface that was ready for my first big project in my new garage shop: the low boy . I find that I use the outfeed table for assembling projects a lot more then I use the tablesaw. I can still fold the table up and roll the saw against the wall, allowing my significant other to park her car in the garage when I am deployed. All in all, this is one of the best and most useful shop projects I have ever built.
|
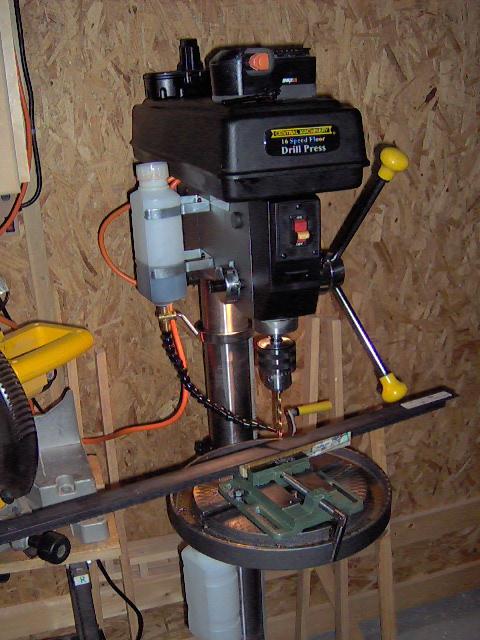 Rail to be drilled 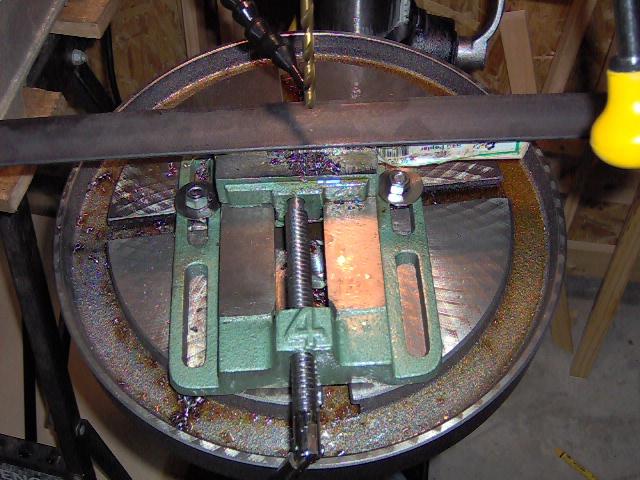 Vice mounted, oiler ready 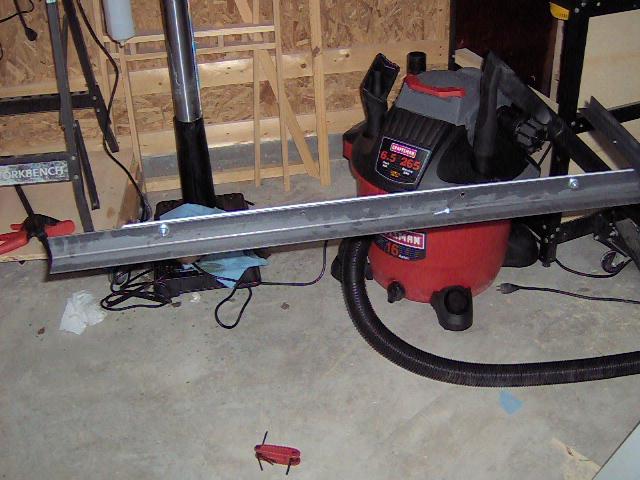 Rails mounted to fence brackets before trimming 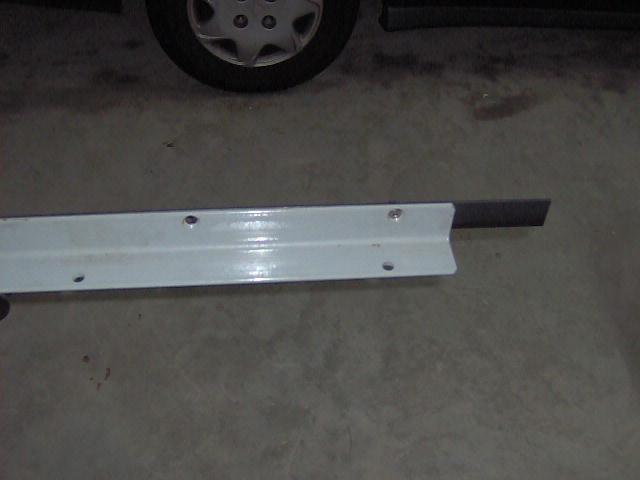 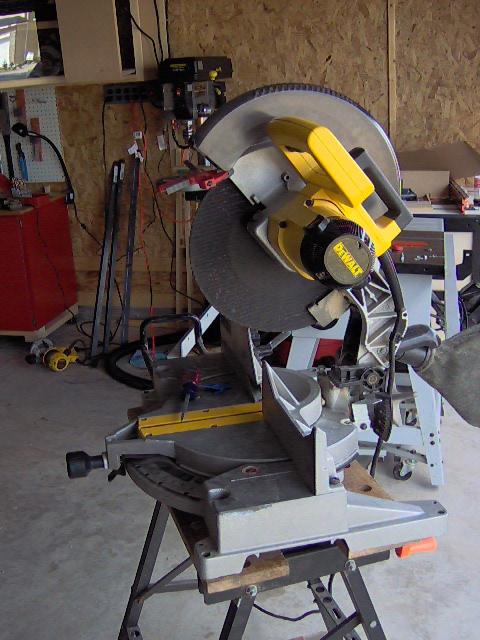 Remember to remove the dust bag!! 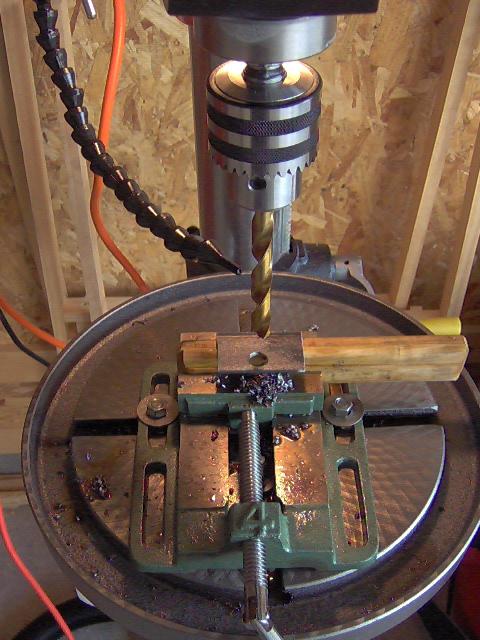 Drilling a bracket 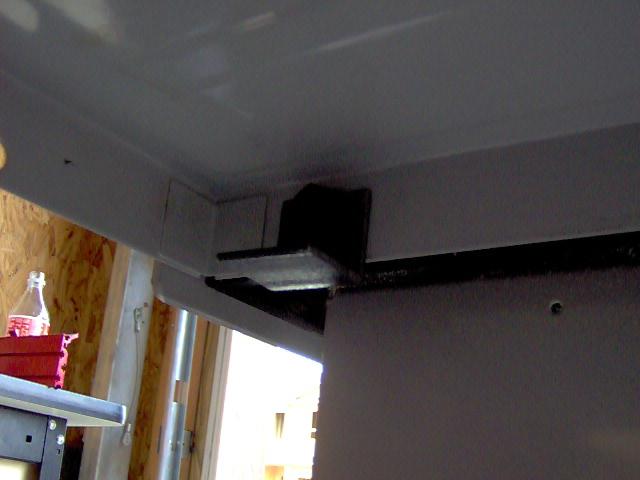 Bracket mounted to left table extension 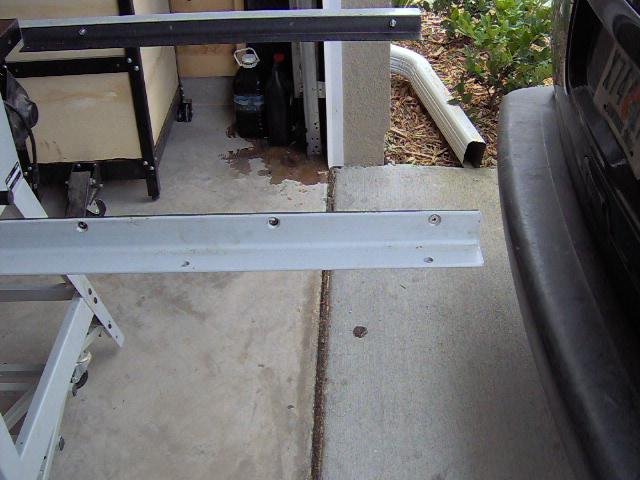 Rails mounted to fence brackets | ||||||
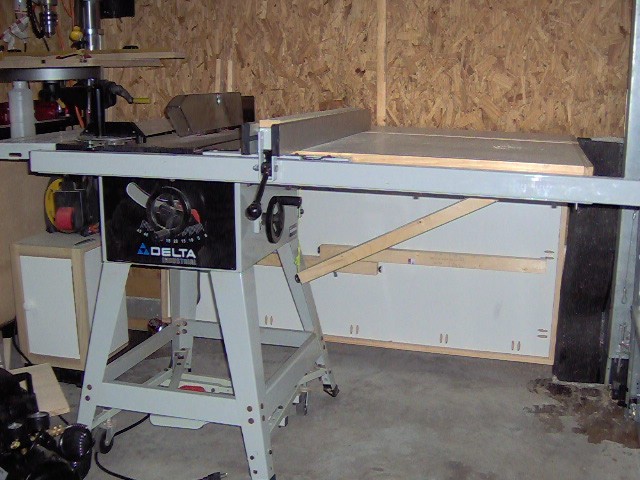
 Some pictures of the completed saw |
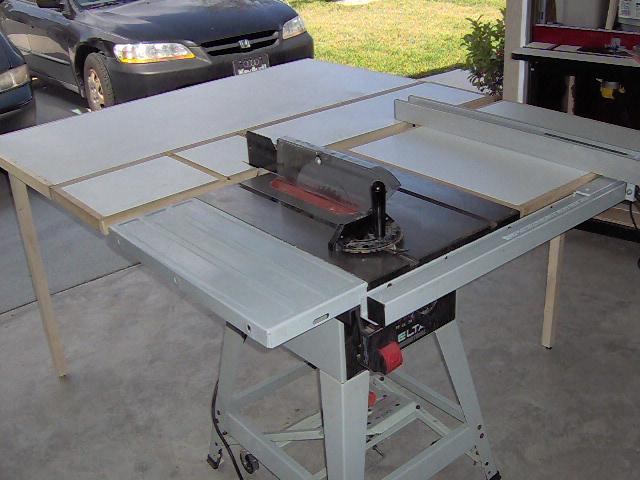 Left Side View |
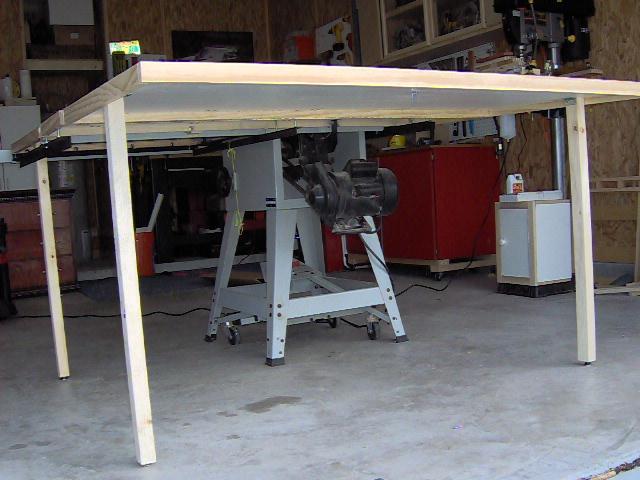 Legs Deployed |
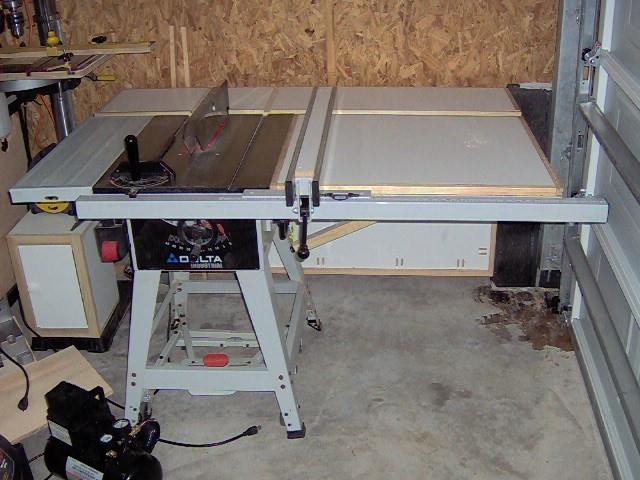 Folded for Storage |
 Sitting in the Corner | |||
| |||||||